
The last step of creating your AI is to create Actions for each of your Plans. If you need some help designing actions, take a look at the Designing Action page.
Let’s get started!
Creating Action
Creating a new action blueprint is incredibly simple.
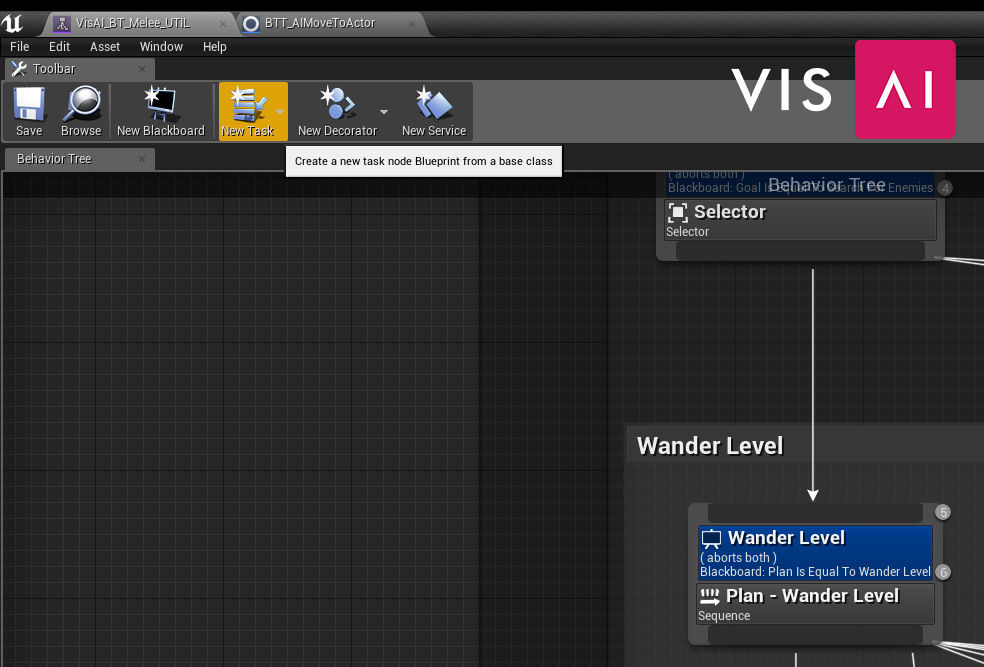
- Open the Behaviour Tree for the AI you’re creating an Action for, then select “New Task”
- Search for “BTT_Action_Base”, then select it by left clicking.
- Your new Action is created!
The next part you’ll need to do is create the actual logic for your Action. When a task is called on the Behaviour Tree, the event “Event Receive Execute AI” is called. Use this event by right clicking in the event graph, and searching for it.
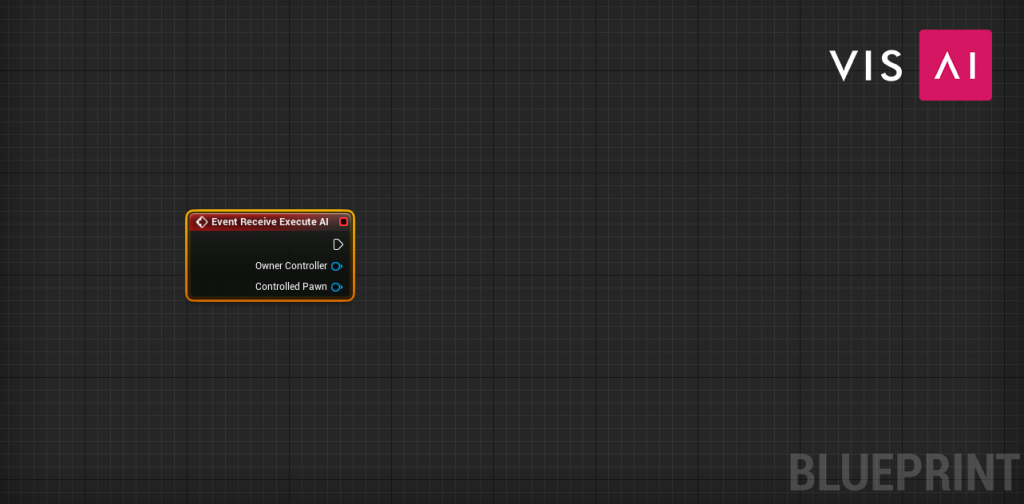
This is your starting point, everything within the Action depends on what you want to do with it. Remember that you have access to all AI systems, these are where they really help. If you’re confused on what to do, try taking a look at some of the examples provided with the pack, or checking out the Designing AI page here.
Using Action
Once you’ve created your Action, all you need to do to use it is place it in the Behaviour Tree. Simply right click anywhere in your tree, search and select your Action, then drag from the top of the node to the bottom of the Plan, linking them together as shown below
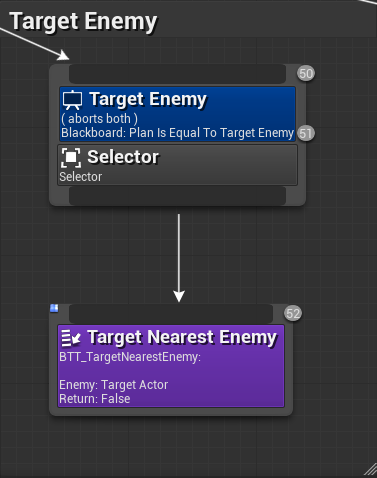
That’s it! Make sure to adjust the settings of the Action if necessary by left clicking on it and viewing the details panel.

Now that you’ve created your first AI, take some time to look back through the documentation. Then, take a look at some of the AI Toolkit that’s available to you; or the available AI Subsystems that you can get.